How to sew a quilted crossbody bag with a coin purse - tutorial and PDF pattern
A step-by-step tutorial, and a PDF pattern, to make a shoulder bag and a purse, both quilted and lined.
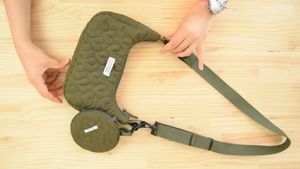
In this tutorial, I'll show you how to make a shoulder bag and matching purse. Both are lined, quilted and zip fastened.
The pattern accompanying the tutorial contains the bag and purse.
Before starting
To follow the tutorial, you can download the quilted crossbody bag and coin purse patterns in PDF from our store. All the instructions for printing, cutting and assembling the parts are included in the PDF. It's easy!
Quilted crossbody bag and coin purse pattern
Get the Pattern!Supplies to make the bag and purse
To make this project, you'll need
- a 40 cm x 60 cm quilted fabric for the outside of the bag and purse;
- a 40 cm x 60 cm lightweight fabric for the lining;
- a 30 cm zipper for the bag and a 21 cm zipper for the purse;
- a 3.5 cm wide, 120 cm long cotton strap for the bag;
- a 1 cm wide, 10 cm long cotton strap for the purse;
- a 3.5 cm wide sliding buckle for the bag;
- two 3.5 cm-wide snap hooks for the bag;
- a 1 cm-wide snap hook for the purse;
- bias tape 4 cm wide and 1 m long.
Making the bag and purse
All the steps involved in making the quilted crossbody bag and the purse are explained in the tutorial accompanying the pattern, and are also available in the following video:
Step 1: cutting and preparing parts
- Fold the fabric lengthwise in half.
- Pin the pieces to the wrong side of the fabric as shown in the cutting diagram.
- Cut the pieces.
- Do this for the outer fabric and the lining.
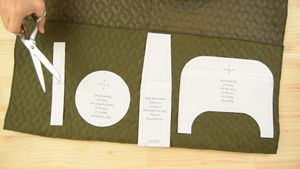
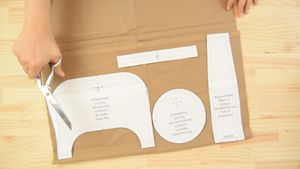
- Before removing the paper pattern pieces from the fabric, transfer the pattern important markings to the fabric pieces.

Step 2: making the bag
- Mark the centers of the 30 cm (12 in) zipper.
- Place the zipper on the top of the outside of the bag face right sides together and then place the lining of the face right sides together well in the middle.
- Stitch 1 cm (⅜ in) from the edge.
- Do exactly the same with the second side of the zipper and the second face of the bag.
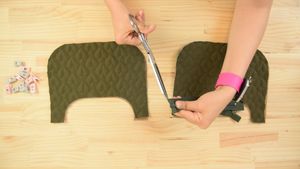
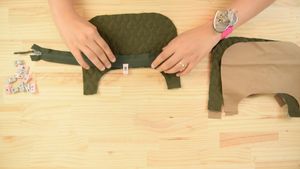
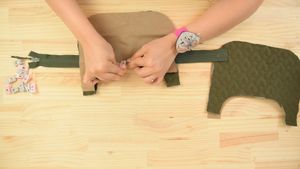
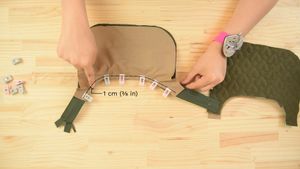
- Clip the rounded edges of the top of the bag.
- Flip the fabric right side out and topstitch 5 mm (⅛ in) from the edge.
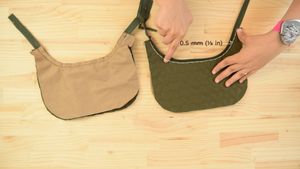
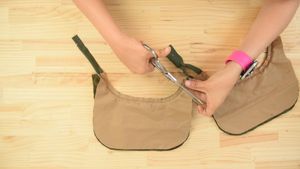
- Fold the bag outside on outside and lining on lining.
- Open the zipper.
- Place one edge of the outer perimeter on the edge of the outer face of the bag, right sides together, matching the markings.
- Pin the second edge to the second face of the bag, right sides together, matching the markings.
- Stitch each side 1 cm (⅜ in) from the edge.
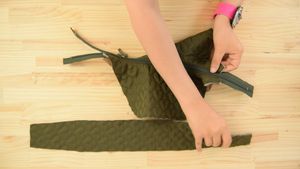
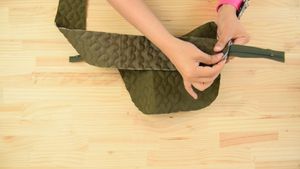
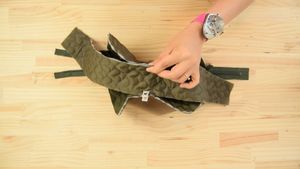
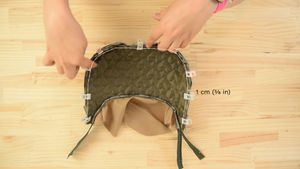
- Place one edge of the perimeter lining over the edge of the face lining, right sides together, matching the markings.
- Pin the second edge of the perimeter lining to the second face of the bag, right sides together, matching the markings.
- Stitch each side 1cm (⅜ in) from the edge, leaving a 12cm (5 in) opening on one of the edges to flip the bag over.

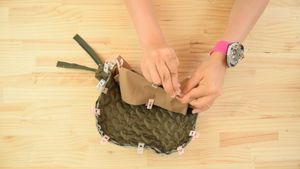
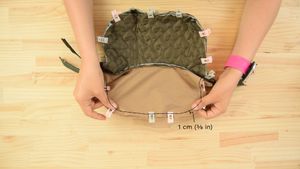
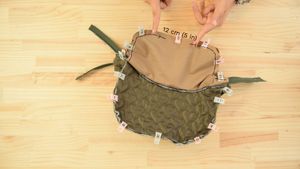
- Clip the rounded edges of the bag.
- Trim the excess from the zipper.
- Flip the bag over through the lining opening.
- Pin and stitch the lining opening.
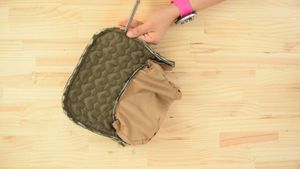
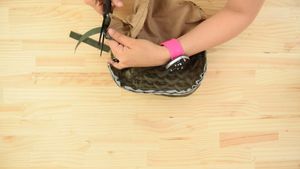

- Take two pieces of 10cm (4 in) long and 3.5cm (1 ¼ in) large webbing and thread them through one hook each.
- Fold the webbings in half.

- Slide one of the straps through an opening in the end of the bag right sides together, then slide the second strap through the opening in the second end of the bag.
- Stitch both ends 1cm (⅜ in) from the edge.
- You can sew the strap by hand if the machine doesn’t pass the layers.
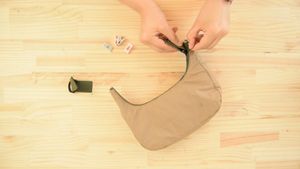
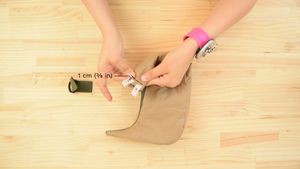
- Flip the bag right side out, pulling on the strap.
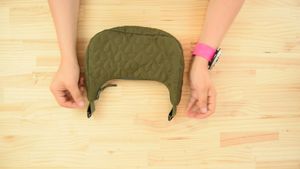
- Take a piece of bias 6cm (2 ⅜ in) long by 4cm (1 ½ in) wide, flip over the corners of the bag.
- Fold the long sides of the bias inwards by 1cm (⅜ in).
- Place one side of the bias width on the seam of the bag's corner, right sides together.
- Stitch 1cm (⅜ in) from the edge, by machine or by hand.
- Fold over the free side of the bias by 1cm (⅜ in),
- then fold the bias over the corner of the bag to hide the seam.
- Stitch by hand using a slip stitch.

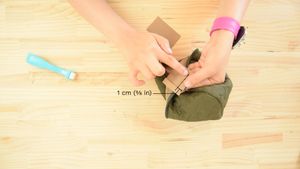


Step 3: making the purse
- Place the 21cm (8 ¼ in) small zipper between the perimeter of the circular bag and its lining right sides together well in the middle.
- Stitch the sides 1 cm (⅜ in) from the edge.
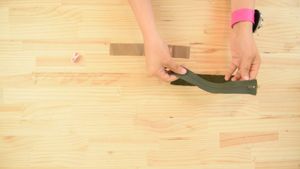

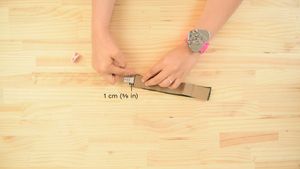
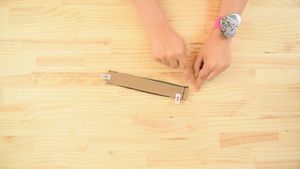
- Flip the piece right side out and topstitch all around the perimeter 5 mm (⅛ in) from the edge.
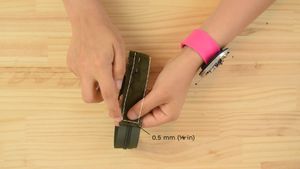
- Place the 1cm (⅜in) large small piece of webbing in the small snap hook, and fold the webbing in two.
- Pin the webbing on the perimeter right sides together at a distance of 2 cm (¾in) from the zipper.
- Stitch 5 mm (⅛ in) from edge.

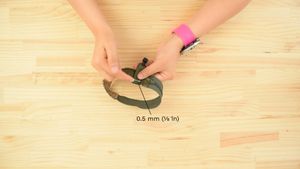
- Place the lining on the reverse side of the bag face and stitch all around 5 mm (⅛ in) from the edge.

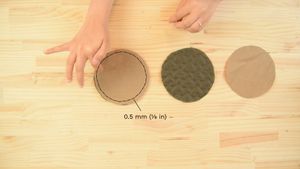

- Mark the middles of the bag's perimeter.
- Place the perimeter on the face of the bag, right sides together, matching the markings
- Open the zipper and place the second face on the second side of the perimeter.
- Stitch both sides 1cm (⅜ in) from the edge.



- Clip the rounded edges of the bag.

- Fold the bias end inward by 1 cm (⅜ in) and place around the bag.
- Stitch 5 mm (⅛ in) from the edge.
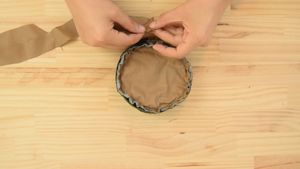
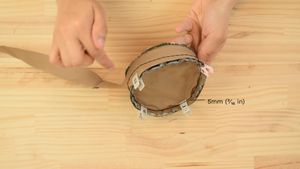
- Fold the bias towards the inside of the bag and stitch using the machine or a slip stitch.

- Flip the bag over.
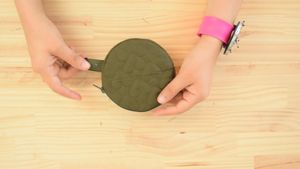
Step 4: making the strap
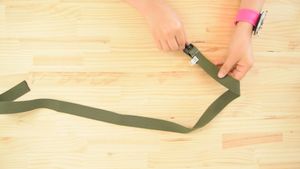
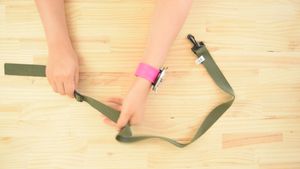
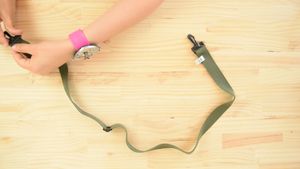
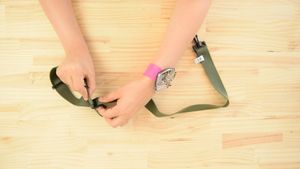
- Take a 1m (1.1 yd) long webbing and pass one end through a snaphook, then fold over about 2 cm (¾in) and stitch the webbing in place.
- Pass the second end through a sliding buckle, then through a snaphook, then pass the strap through the sliding buckle a second time, this time from the bottom.
- Fold the strap over the back about 2 cm (¾ in) and stitch.
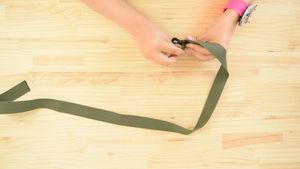
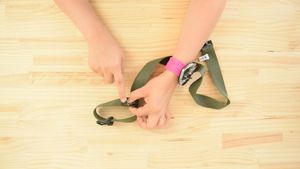
- Attach the strap to the bag.
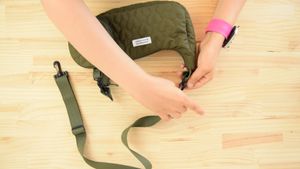

The bag is ready!
Quilted crossbody bag and coin purse pattern
Get the Pattern!