How to sew a quilted and lined makeup bag - tutorial and PDF Pattern
A step-by-step tutorial, and a PDF pattern, to make a lined, quilted makeup bag with an inside pocket.
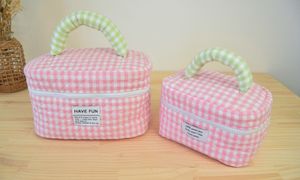
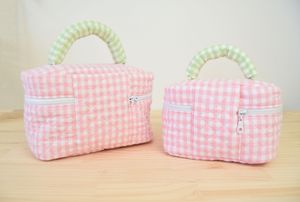
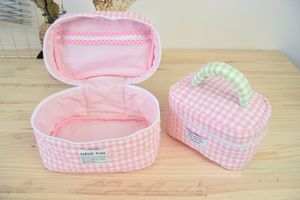
In this tutorial, I'll show you how to sew a lined, quilted vanity bag with an inside pocket. Both the bag and the inside pocket close with a zipper. The pattern that accompanies the tutorial contains two different sizes, to choose from according to your needs!
Before starting
To follow the tutorial, you can download the toiletry bag pattern in PDF from our store. The pattern contains two different sizes, to create a large or small vanity, as you wish.
Quilted Makeup Bag Pattern
Get the Pattern!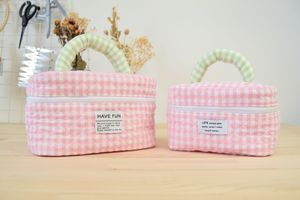
Supplies to make the bag
For the large makeup bag, you will need:
- a 64 cm x 60 cm ( 0.7 yd x 0.6 yd) quilted fabric for the outside of the bag;
- 28 cm x 14 cm (0.3 yd x 0.15 yd) light cotton fabric for the handle;
- 64 cm x 50 cm (0.7 yd x 0.55 yd) light cotton fabric for the lining;
- 26 cm x 20 cm (0.28 yd x 0.22 yd) mesh fabric for the inside pocket;
- 65 cm (25 ½ in) and 25 cm (10 in) zippers;
- a bias tape 2.5 cm (1 in) wide and 1.5 m (1.65 yd in) long;
- another bias tape 1 cm (⅜ in) wide and 50 cm (0.55 yd) long;
- 50 g stuffing wadding.
For the smaller makeup bag, you will need:
- 52 cm x 46 cm (0.57 yd x 0.5 yd) quilted fabric for the outside of the case;
- 23 cm x 10 cm (0.25 yd x 0.11 yd) light cotton fabric for the handle;
- 52 cm x 41 cm (0.57 yd x 0.45 yd) light cotton fabric for the lining;
- 21 cm x 15 cm (0.23 yd x 0.16 yd) mesh for the inside pocket;
- 55 cm (22 in) and 22 cm (9 in) zippers;
- a bias tape 2.5 cm (1 in) wide and 1.2 m (1.31 yd) long;
- a bias tape 1 cm (⅜ in) wide and 42 cm (0.45 yd) long;
- 50 g stuffing wadding.
Making the bag
All the steps involved in making the vanity bag are explained in the tutorial accompanying the pattern, and are also available in the following video:
Step 1: cutting and preparing parts
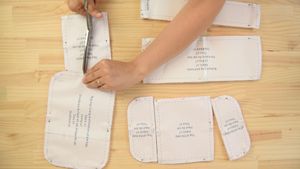
- Pin the pattern pieces on the wrong side of the fabric and the lining as shown in the cutting layout.
- Cut out the fabric pieces.
- Cut the pocket out of the mesh fabric.
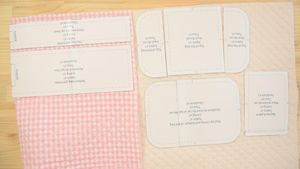
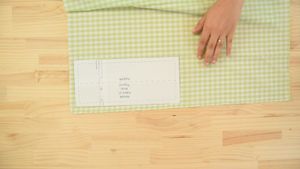
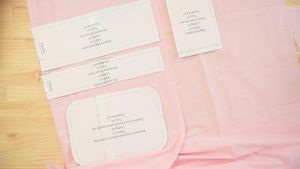
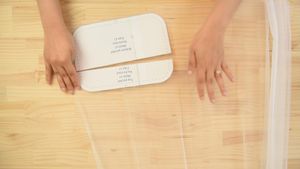
- Before removing the paper pattern pieces from the fabric, transfer the pattern important markings to the fabric pieces.
Step 2: making the bag's perimeter
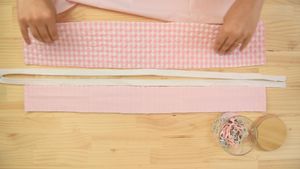
- Grab the two pieces of the bag's perimeter and their lining
- Grab the long zipper and mark its center.
- Open the zipper.
- Place one side of the zipper between the outer fabric and the lining of the bottom perimeter, right sides together, matching the center.
- Place the second side of the zipper between the outer fabric and the lining of the top perimeter, right sides together, matching the center.
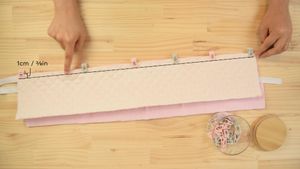
- Stitch each side 1 cm (⅜ in) from the edge.
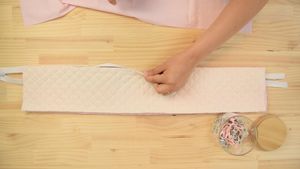
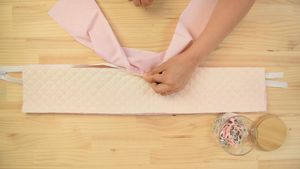
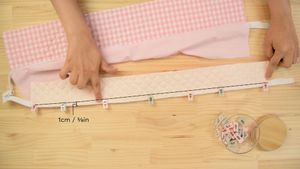
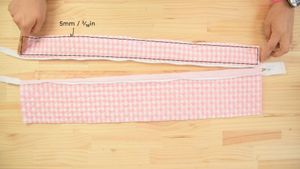
- Fold the fabric right side out and topstitch all around each perimeter, 5 mm (³⁄₁₆ in) from the edge.

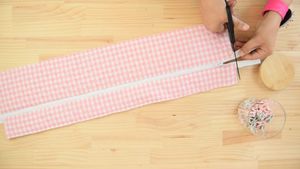
- Trim off the excess of the zipper.
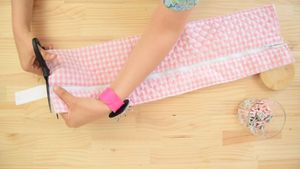
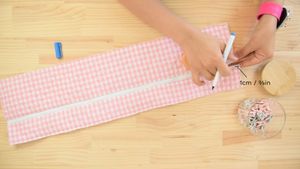
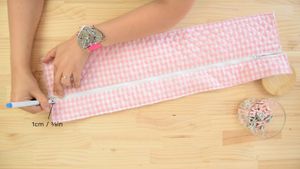
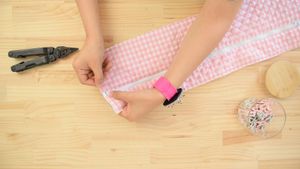
- Mark a distance of 1 cm (⅜ in) on both sides of the zipper.
- Using a pair of pliers, remove the zipper teeth along the marked distance.
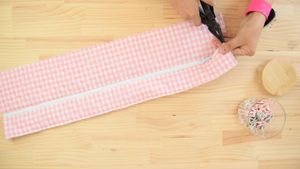
- Hand-stitch the ends of the zipper to keep it from opening.
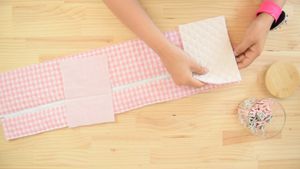
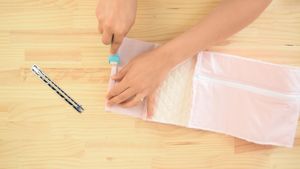
- Place one end of the bag perimeter between the back perimeter piece and its lining, right sides together.
- Place the outer fabric only of the back perimeter piece over the second perimeter end, right sides together.
- Stitch the two ends of the perimeter 1 cm (⅜ in) from the edge.

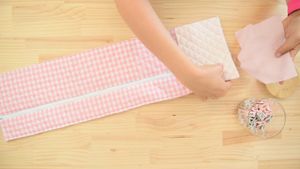
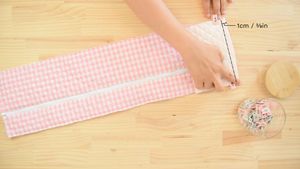
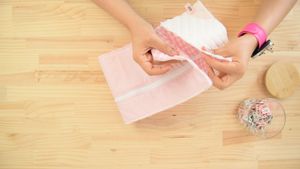
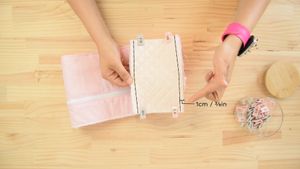
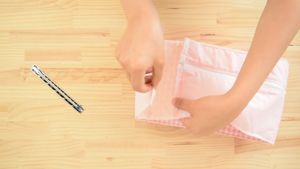
- Fold over the free side of the lining of the back perimeter piece over 1 cm (⅜ in) and press.
- Fold the lining over to cover the seam and pin in place.
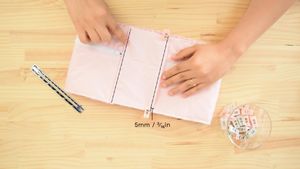
- Make two stitches on either side of the back perimeter seams, each 5 mm (³⁄₁₆ in) from the seam.
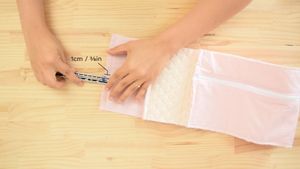
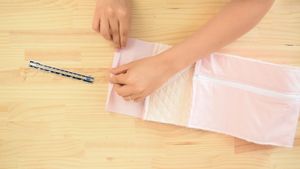
Step 3: making the handle
- Fold the handle fabric in half lengthwise, right sides together.
- Stitch the length 1 cm (⅜ in) from the edge.
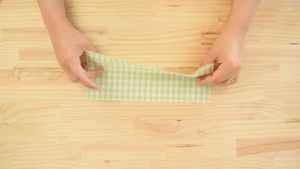
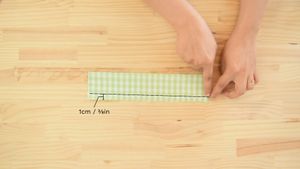
- Press the seams and flip the piece right side out.
- Stitch 1 cm (⅜ in) from the edge of one of the short sides of the piece.
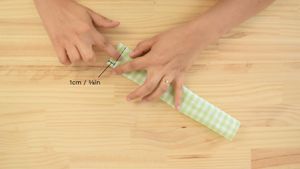
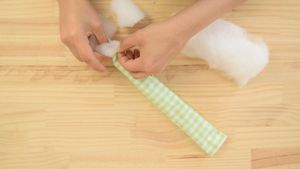
- Fill the handle with batting and stuff it down enough to make the handle quite stiff. Do not fill the handle to the seam allowance.
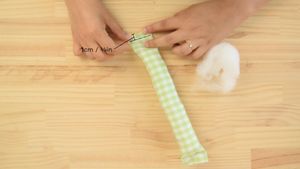
- Pin the opening and stitch 1 cm (⅜ in) from the edge.
Step 4: making the top and bottom of the bag
- Take the 3 pieces of the top of the bag and the handle.
- Mark the centers of the small sides of the handle.
- Place the handle seam allowance between the bag top side piece and the bag top center piece, matching the markings, right sides together, and stitch 1 cm (⅜ in) from the edge.
- Do the same with the second side of the handle and the second side of the top of the bag.

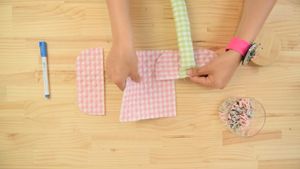
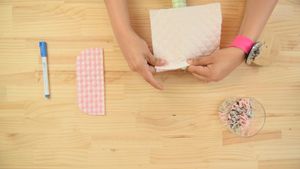
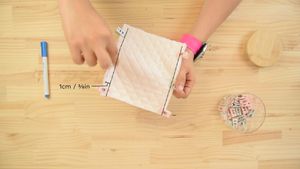
- Flip the pieces over and topstitch 5 mm (³⁄₁₆ in) from the seams.
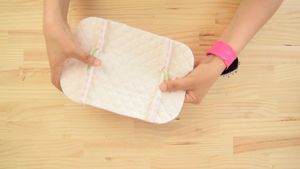
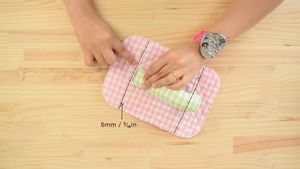
- Place the top of the bag on the lining wrong side on wrong side and stitch all around 5 mm (³⁄₁₆ in) from the edge.
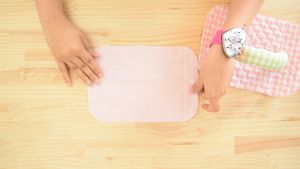
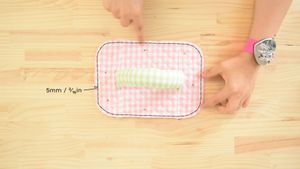
- Place the bottom of the bag on the lining wrong side on wrong side and stitch all around 5 mm (³⁄₁₆ in) from the edge.
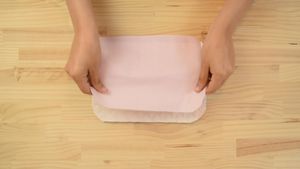
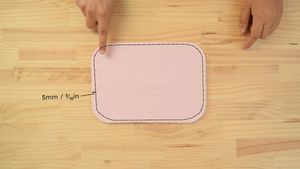
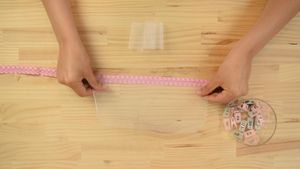
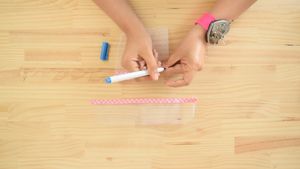
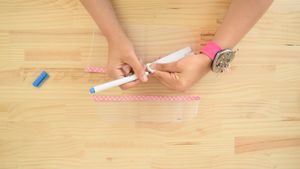
- Cut two pieces of 1 cm (⅜ in) wide bias to the length of the mesh pocket.
- Fold the bias in half and press.
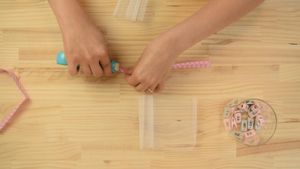
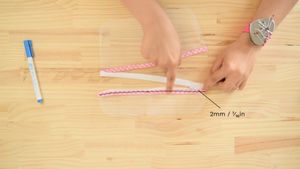
- Place the bias on the straight edge of the mesh pocket.
- Do this for both pocket pieces.
- Stitch the bias 2 mm (¹⁄₁₆ in) from the edge.
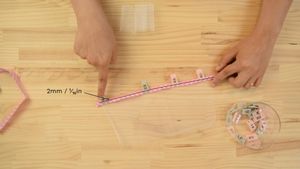
- Take the small zipper and both sides of the mesh pocket.
- Mark the centers of the zipper and both sides of the pocket.
- Place the two sides of the pocket on either side of the zipper, wrong side on right side, and stitch 2 mm (¹⁄₁₆ in) in from the edge.
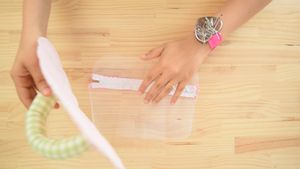
- Place the top of the bag on the pocket this time, wrong side on wrong side and stitch all around 5 mm (³⁄₁₆ in) from the edge.
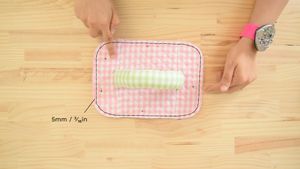
Step 5: assembling the bag
- Open the zipper.
- Mark the center of the bag's perimeter.
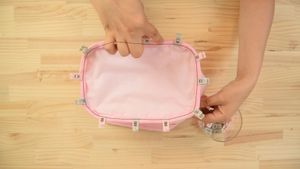
- Place the top edge of the perimeter on the top of the bag, right sides together, matching the markings.
- Place the bottom edge of the perimeter on the bottom of the bag, right sides together, matching the markings.
- Stitch both sides 1cm (⅜ in) from the edge.
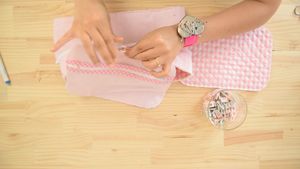
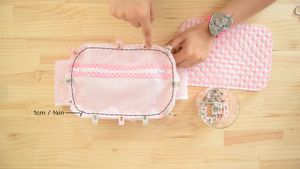

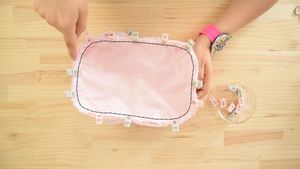
- Fold the bias end 1 cm (⅜ in) inwards and place the bias around the bag. Stitch 5 mm (³⁄₁₆ in) from the edge.
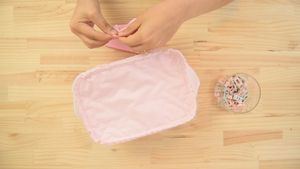
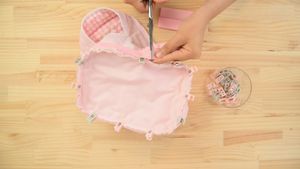
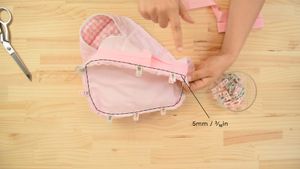
- Clip the rounded edges of the bag.
- Fold the bias towards the inside of the bag and stitch using the machine or a slip stitch.
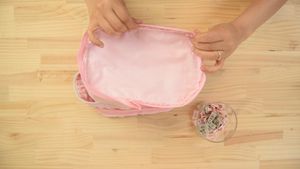
Your bag is ready to go!
Quilted Makeup Bag Pattern
Get the Pattern!